ImprovGFX
Introduction
For the “Computer Graphics” course, it was announced from the beginning of the course that the final project will be a scene rendered using OpenGL or WebGL. However, for someone like me who’s been introduced to what graphics programming is (with no actual experience), I thought it would be way cooler to build my own offline renderer. The only reason I was confident enough to ask the professor if I could make this project instead is because of ssloy’s tiny-renderer tutorial series. Luckily, the professor agreed.
Limitations
This is considered the first graphics project that I ever took part in. This can be seen by the amount of weird limitations that it has. For example:
- Each model can have one mesh with a maximum of one texture mapped onto it
- No runtime configurable variables (which meant each change to the scene setup required recompiling the whole thing)
- No transform hierarchies in the scene
- Only supports the
objformat for meshes and thetgaformat for images (those were the ones that the tutorial provided support for)
Stuff I made differently
Luckily, as someone who can’t just follow a tutorial blindly, I added my own stuff to the implementation:
- Instead of rendering to an image that is stored on the disk, the scene is rendered to a WIN32 window so that interactivity is not impossible (I actually used that as a chance to learn a lot about eh WIN32 API as it was the first time I ever used it)
- The camera was dynamic rather than static and it had the same control scheme as an FPS camera (WASD for movement, mouse for changing angle)
Optimization
By then, the performance wasn’t too bad. However, since I wanted to add more complex scenes later on, I had to make sure that the renderer could handle scenes more efficiently.
Multi-threading
The first thing I tried doing is to use multithreading to split the rasterization of the scene over multiple threads. Out of sheer laziness, I decided to use OpenMP for the threading insteading of adding the threads myself. The parallelism was added over the loop that iterated over the faces to rasterize them and then run the fragment shader, thus effectively allowing concurrency on the face level.
Going even further
While this provided a massive boost to the performance and allowed rendering single model scenes at an interactive rate, the goal was to render a more complex scene and thus decided that the CPU wasn’t fast enough for what I wanted and that I will need to push some work on the GPU.
This was also my first time ever interacting with the GPU as a developer, which made it a bit intimidating at first. I first started by deciding what is the API that I would use. As someone who didn’t know about the existence of OpenGL compute shaders at the time, and didn’t have an nvidia GPU, the only option I had was none other than OpenCL.
After a few days of fiddling with OpenCL, I managed to migrate the vertex shader stage to the GPU. Sadly, because I wasn’t using high-poly models, the performance boost, which was noticeable, didn’t seem like it was worth the hassle. A couple more days and the fragment shader was also migrated, and the performance boost was so huge that it didn’t seem right. A scene that I used as a benchmark managed to go from 2 FPS (with a full CPU implementation) to a whooping 90 FPS (with shader stages being executed on the GPU).
By the time I reached this point, I was notified that someone else would be my teammate in this project. As someone who was developing with zero concern about code cleanliness or consistency, that was a major problem. So I agreed with them on the following: I would abstract the scene building functionality, and they’d build a scene that we can use to showcase the renderer.
Note: While, at the time I was creating it, I thought the new simplified API was quite decent, looking back at it now, I can’t help but feel a bit weirded out by how stupid it was. No regrets, though.
I ended up needing to create the scene myself, on the night before the final submission, so I just went and found some free models, slapped them together with a wavy vertex shader and called it a day. The code written to create such a scene is:
| |
The scene produced by this code can be seen below.
Gallery
These are some images and GIFs that I found from the time of the development.
Figure 1: FPS Camera

Figure 2: My first weird bug

Figure 3: My second weird bug
Figure 4: Rendering multiple models
Figure 5: Playing with light intensity in fragment shader
Figure 6: Playing with vertex offsets in vertex shader
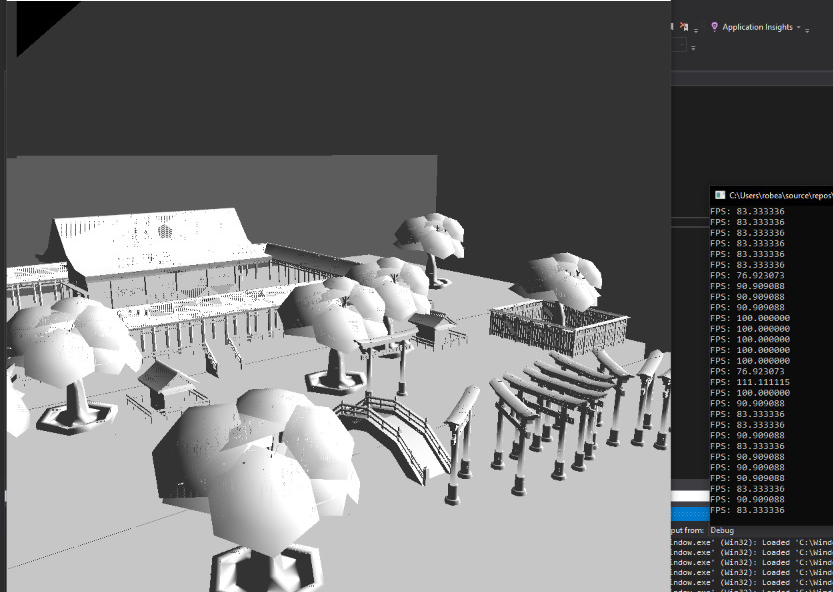
Figure 7: Rendering a (kind of) buggy scene using OpenCL
The source code can be found in this repository.