CPU RayTracer
Introduction
After finishing my first raytracer, it was obvious that I needed to make another one if I wanted to learn more about the topic. However, since I wasn’t confident enough to step out of the tutorial territory, I decided that I would use Peter Shirley’s RTOW series.
One of the major advantages of this series is that while it is introducing the concepts in a gentle manner, it is also giving advice on how to structure the project so that adding more features in the future doesn’t end up being a huge task with tons of refactors. Combined with the fact that this is my second raytracer, this meant that I could have a much nicer code structure for this one.
Implementation
After going through the first two books, I had a much more efficient raytracer than my first one with more features. Some of these features included:
- Antialiasing
- Motion blur
- Volumetric fog
- Emissive materials
- Bounding volume hierarchy
Some screenshots
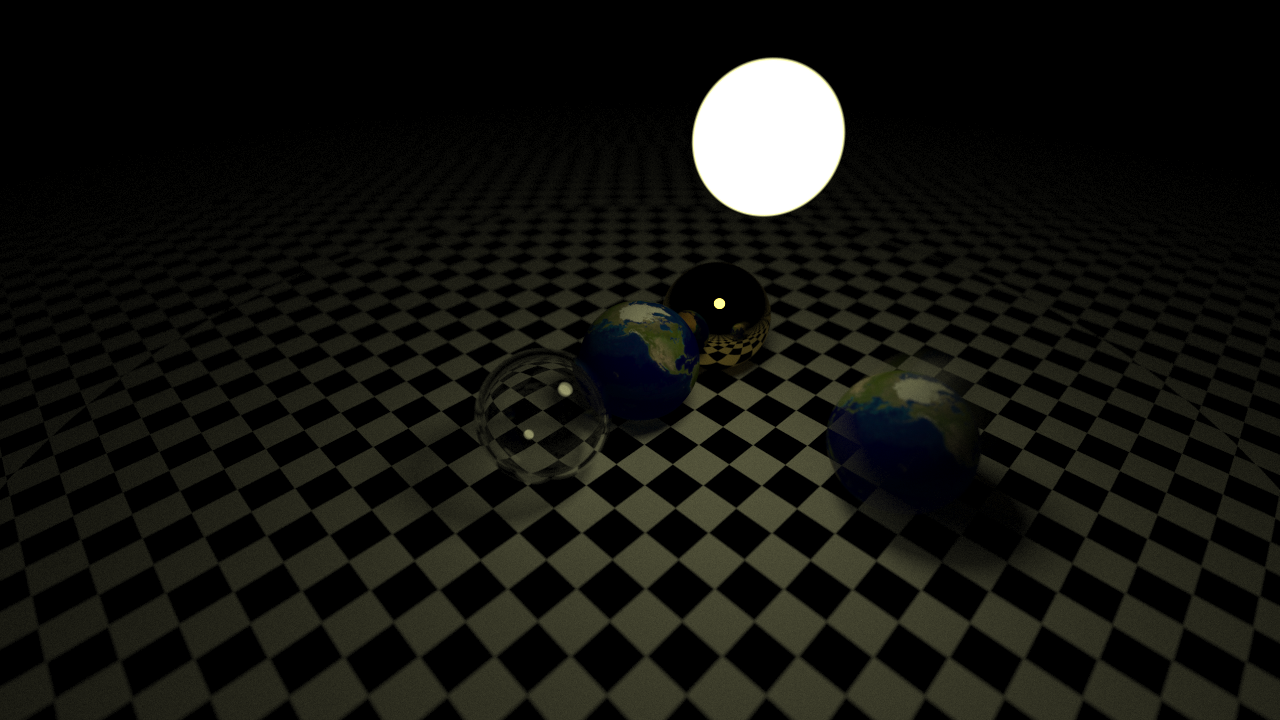
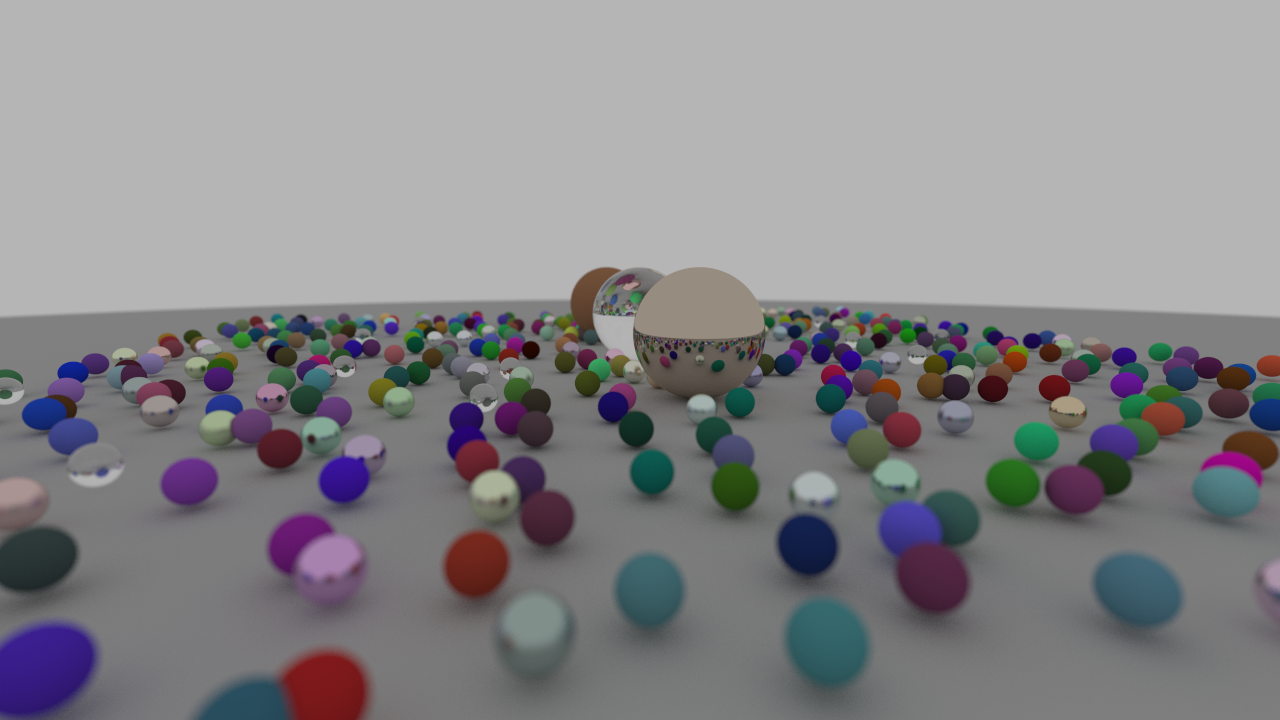
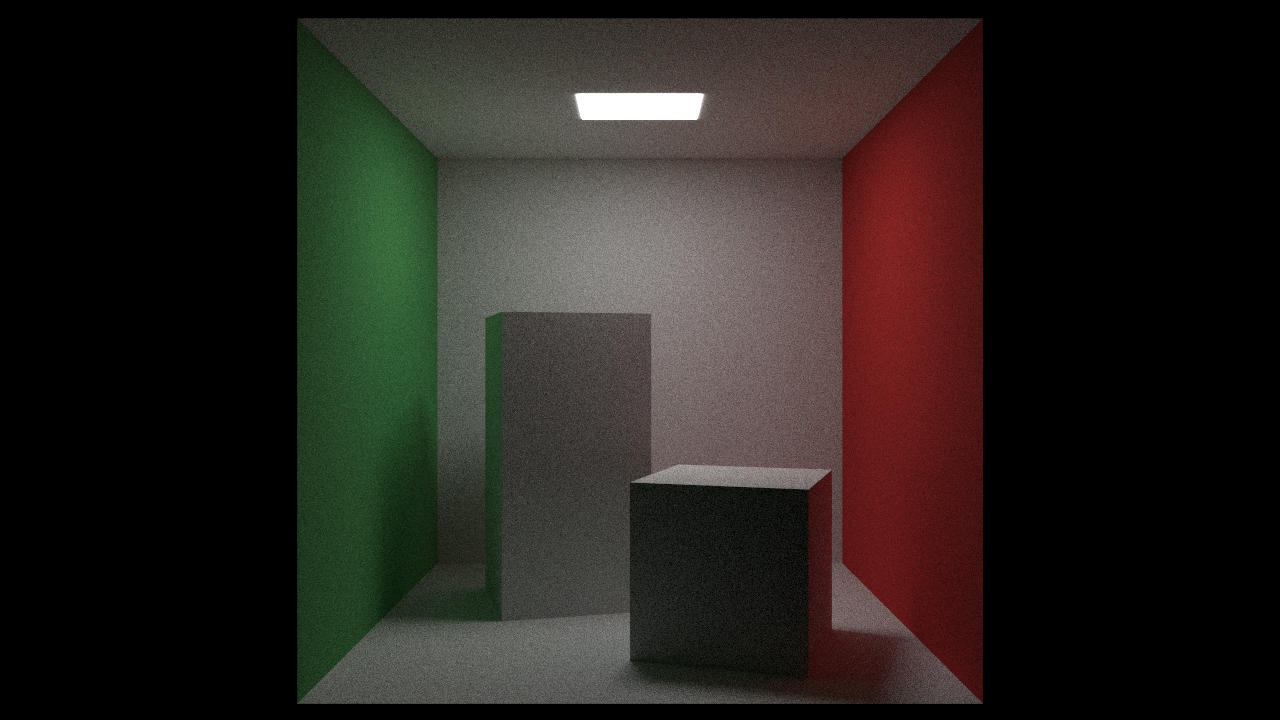
Additional stuff I added
After finishing the first two books, the time came for me to start playing around and adding more features to the raytracer.
Custom Render Targets
While the books expected the output to be exported to a PPM image file, I
abstracted it into a generic RenderTarget instead. This had two advantages:
- If I ever decide to make the raytracer more interactive, I’ll need to start
outputting frames to a window. To avoid major refactors, the window can
simply be a
RenderTargetand be quite trivial to replace the image output with it. - For most of the development time, I was developing the raytracer on my own
headless server and hosting the output image through the browser. This meant
that I needed a more common format (e.g. PNG) so having the
RenderTargetbe changeable on demand was quite useful.
Multi-threading
Due to how rays are their own independent entities that traverse the scene without caring for each other, splitting the rays over multiple threads is quite trivial. Since there were no concurrency problems that could occur, I settled on using OpenMP as it was easy to use and efficient when the parallelization is trivial enough. I ended up splitting the work on the scanline level; this meant that each thread would be responsible for a set of rows in the image.
Triangle Meshes
Having seen enough spheres throughout the development, I decided that it was time for me to display more complex stuff. Having triangle meshes required me to first find a way to test the intersection with an individual triangle. For this I used scratchapixel’s nice guide on how to implement ray-triangle intersections.
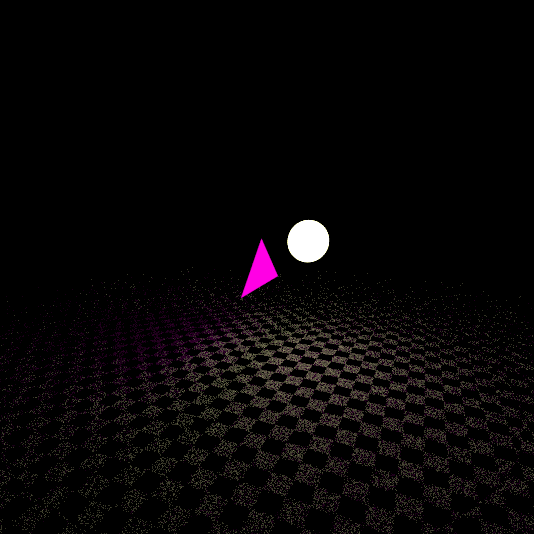
Figure 1: Ray-Triangle Intersection
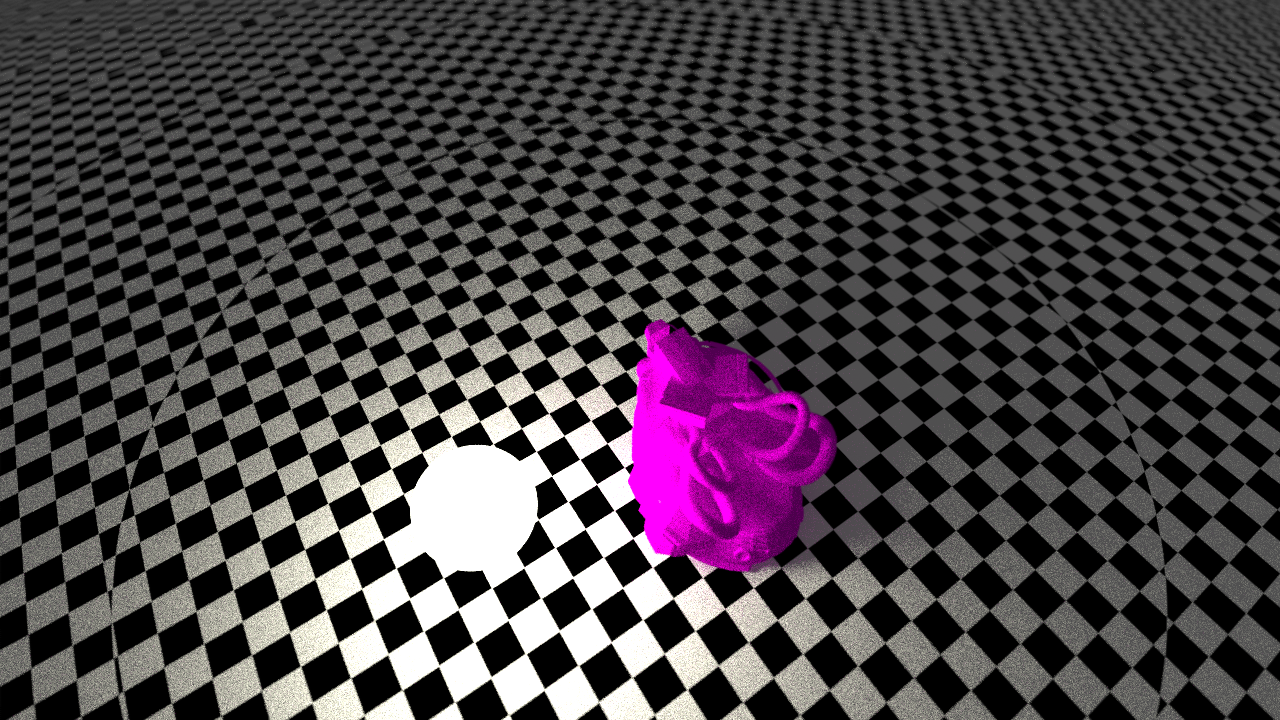
OBJ Loading
After that was finished, I needed to start loading meshes. For that, I decided to start with the OBJ format then my work my way up. For the OBJ, I got tinyobjloader and started loading the meshes and materials from it.
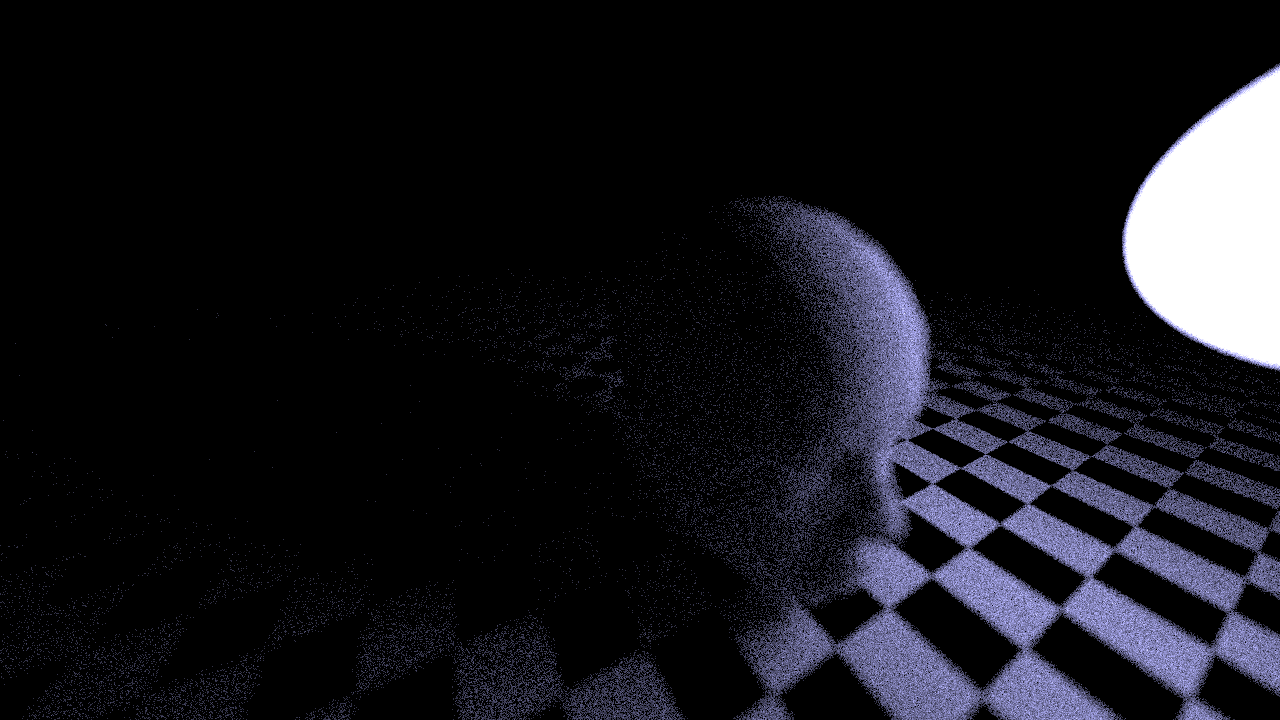
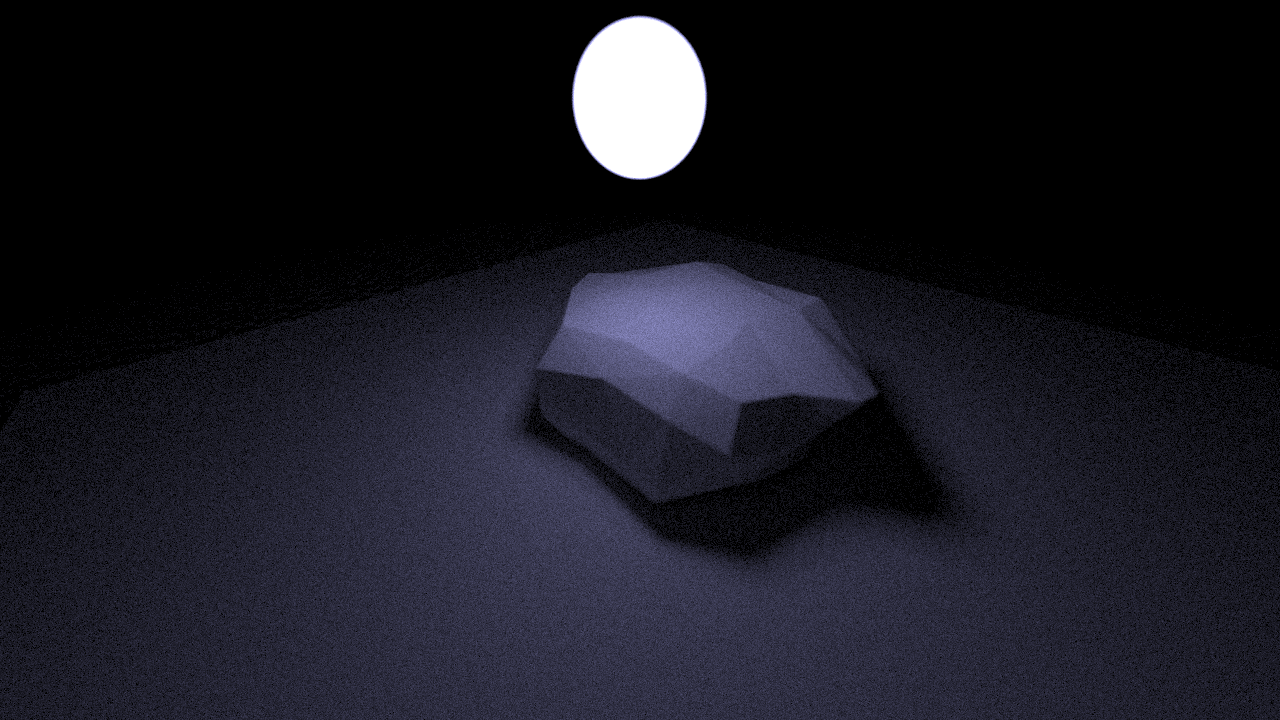
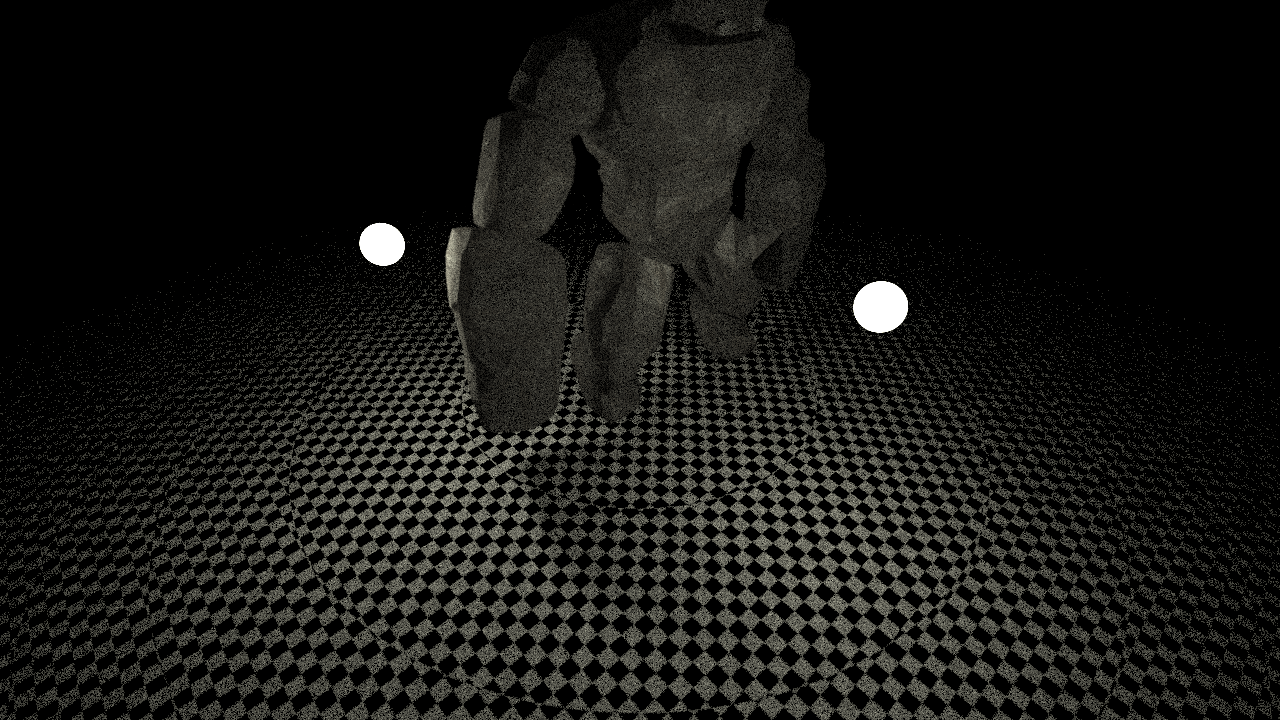
Figure 2: Loading OBJ Models
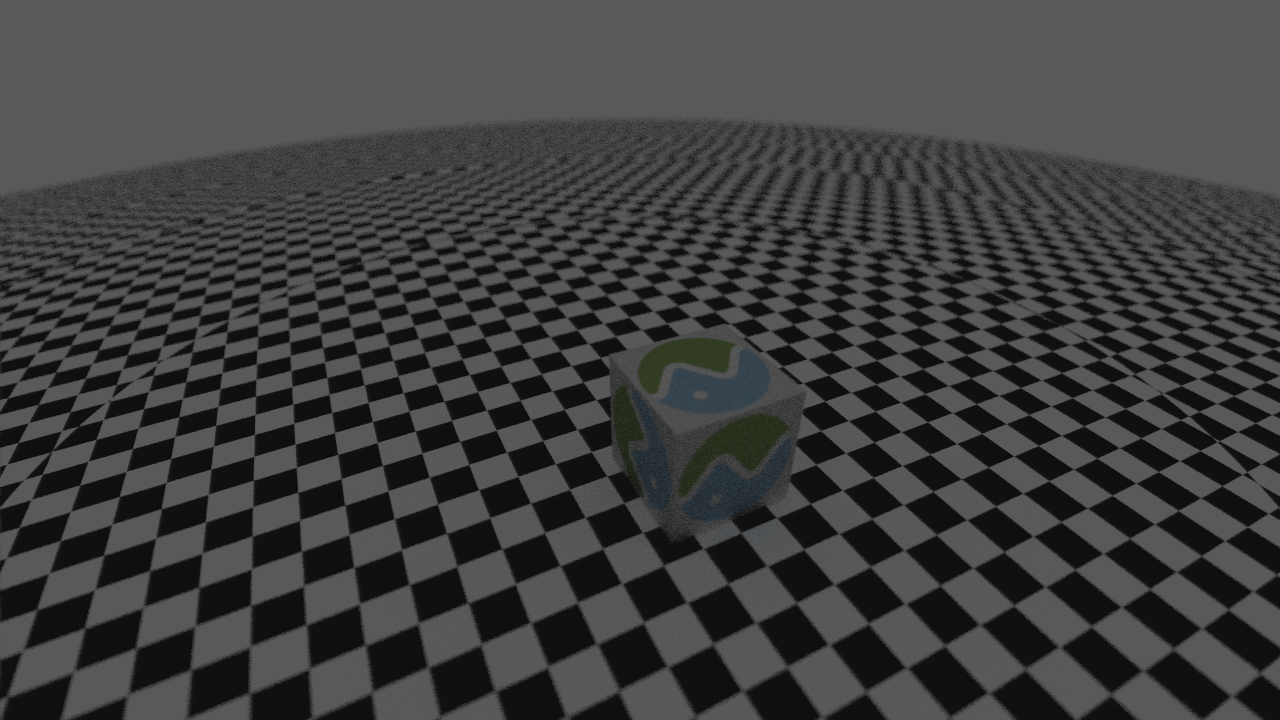
GLTF2 Loading
I knew that if I wanted to have more complex scenes being rendered, I’d need a more complex format like GLTF2. So I got tinygltf and started loading GLTF files.
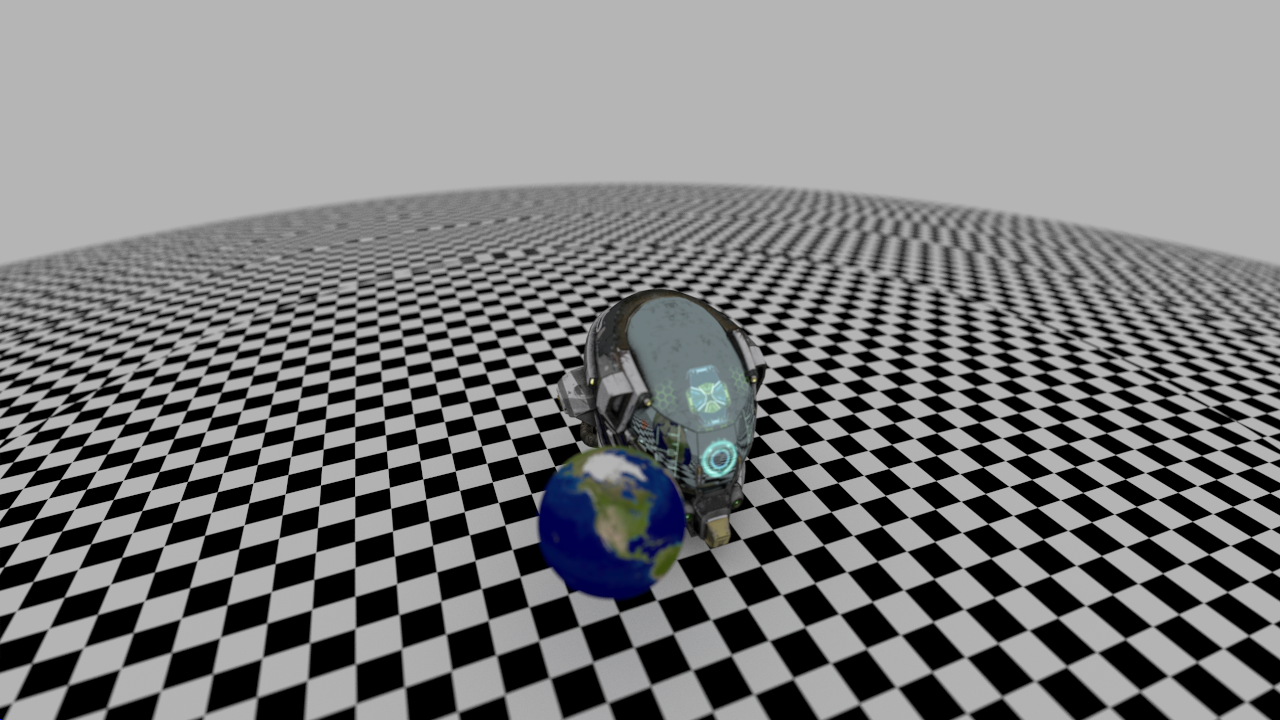
PBR Materials
One of the reasons that I switched from OBJ models to GLTF was how limited the material model was for OBJ. With GLTF, I had more flexibility due to it supported the metallic-roughness pipeline by default (and having extensions for other pipelines). So I started making a PBR material; this involved:
- Diffuse mapping
- Normal Mapping
- Emissive Mapping
- Metallic-Roughness
Unfortunately, the scene format in this raytracer wasn’t ready for a PBR pipeline as I had no way to know whether I’m hitting a light or not, so I settled on having an approximation that, while inaccurate, doesn’t look too bad.
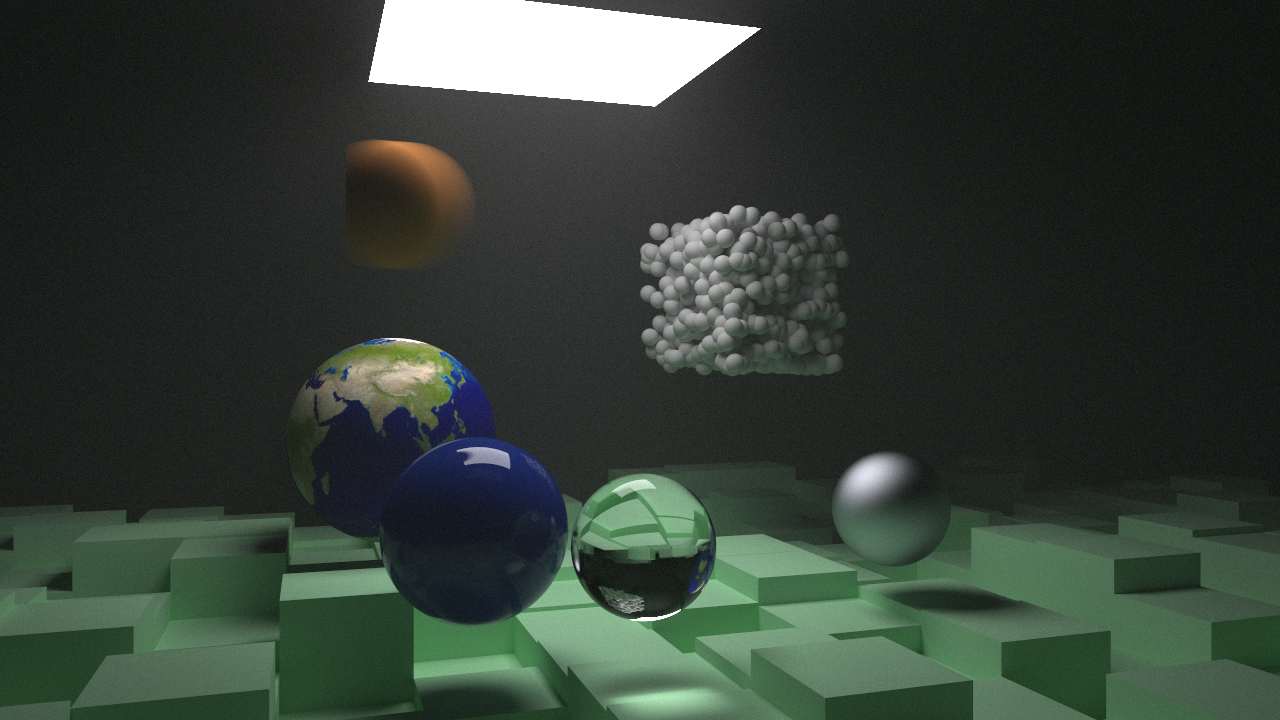
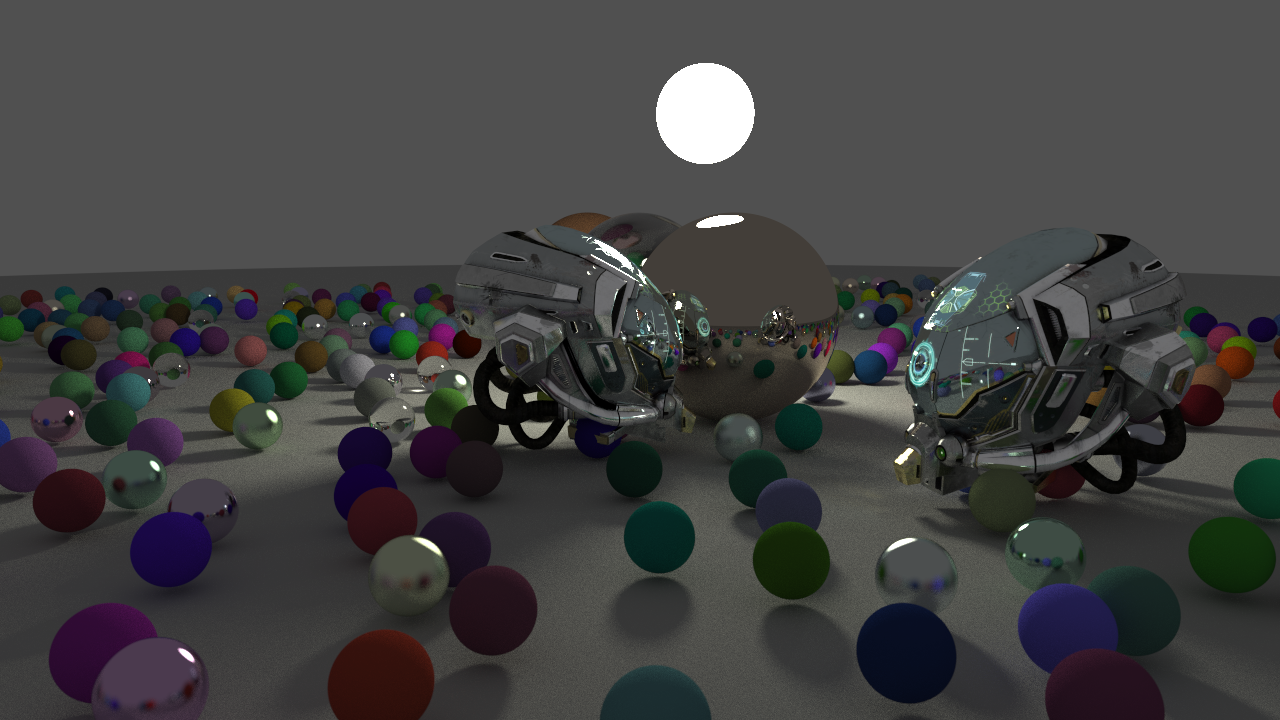
Final Render
Things to add in the future
- Change the structure of the BVH so that it is a contigious array so traversal is more cache-friendly
- GPU Acceleration (Probably, Vulkan Compute shaders)
- True PBR
- Concepts from the third book
The source code for this raytracer can be found in this repository.